Thursday, April 9, 2015

Where do you cut? Right of line, on the line, left of line?


Something that puzzled me when using a rotary cutter and ruler. Do you cut in the center of that line? Do you cut on the right side of that line? Do you cut on the left side of that line? Where do you cut for a accurate measurement? Even that little hair or thread of width accumulates when making a quilt, and potentially can cause a great problem. 

How do you know where exactly the 4" line is????  If they say it makes a difference with a "Slight" 1/4" seam allowance, because it adds up.. wouldn't it add up and cause your blocks to be off if that little bit of space the width of the line is left?   The answer is YES it makes a difference...

So where do we cut?   For a 4” wide strip to be cut, on my cutting matt I line up my WOF [Width of Fabric] against the left side of the “0” line. Then I move my ruler over 4”, lining up my ruler with the 4” line. And prepare to cut.

And then comes the answer for where do you cut..

From the left side of the "0" line to the LEFT side of the 4" line is 4 inches. [measure with your measuring tape to see…lol ]

SO the 4" line is included in the width you need to make it 4". If you cut it on the right side of the 4" line then it will be a hair narrower than a true 4 inches. 

OR in short version:
Left side of line on right and Left side of line on left..
OR Right side of line on right and Right side of line on left
..... BUT Whichever way you decide to cut it, right of line or left of line, make sure to have edge of fabric and the side of the line your cutting on, on the same side... Ok?

Happy Sewing!!

Becky

Sashing and Cornerstones

Sashing and Cornerstones


It was requested by a "newbie" for a blog on Sashing and Cornerstones, so here goes. 

First the "newbie" asked how do you "Square up" a single block. So here is a quick lesson. 

Say you have a piece of fabric that is 6 1/2" x 6 1/2", and you wanted a 6 inch square.

I am using a 6 1/2" x 6 1/2" square up ruler in these pictures. 

In the first picture you will see that on the left side is the 6" mark and notice that the fabric on the bottom is even with the bottom of the ruler. That is a good start. 

On the right in this picture you will see that any fabric that is wider than the 6" is hanging off to the side. You take your rotary cutter and cut that off. Now you will have a block that is 6" square... ONE WAY... still have to square it the other way. 


Now in this picture we have moved the square up ruler where the 6" mark is on the right side, and extra is sticking out on the left. ALSO, notice that the top and the right side are even with the marks on the ruler, that is important that means those two sides are "Square". You again will use your rotary cutter to cut off that extra on the left side.

Now in this next picture we are checking to make sure that the fabric is 6" x 6" square... To do that you put the ruler on the square making sure of the following things:
  1. The diagonal line on the square up ruler is going from corner to corner.
  2. Making sure [with the ruler laying like it is below] that the top and left side are even with the edge of the ruler.
  3. Making sure [with the ruler laying like it is below] that the right side is even with the 6" line, and the bottom is even with the 6" line.

IF all of these things are correct then that square is square at 6" x 6". ... OK?


Now getting on with making sashing and cornerstones for blocks in a quilt.

In the below picture I had some fabric which was left from another project and it was wider than the blocks I was going to use in this example. The blocks are going to be 4" x 4" in this example.

First thing I did was I ironed the fabric as it had some creases and wrinkles.

Then I folded my fabric where the fold was towards me. The fold is in the narrow side of the piece of fabric, the long length of fabric is going away from me. This is how you create the correct straight of grain, so when your cutting strips you don't get a bow or curve at the fold when cutting multiple layers.

Ok... on with it....  Making sure that my fold runs right and left on a line on my ruler [to make sure I am cutting grain straight.] I cut off selvage on the right side. I actually am cutting of selvage and evening up that right side as that is where I will start my measuring for my width of strip, once I clean up the edge and get rid of selvage.

[Why do we want to get rid of selvage? Because if you leave it on and quilt it in, it will make your quilt wonky when you wash and dry it. It gets wonky because it is a very dense weave of threads compared to the rest of the fabric. It is dense because that is where they hook it up to the machines when they are printing and weaving.   And if you don't get rid of them when you wash and dry the quilt they won't shrink the same so it will pull your quilting, and not lay correctly..ie. wonky...lol ]

So in the following picture I have lined my ruler up with the bottom which is where the fold is. I have used my ruler side to where I want to cut off the selvage and straighten out my fabric grain.  And I have cut on this line.  I also used the mat to make sure that my ruler is on the same line above and below my fabric, so I know I am cutting straight.


Now in the next picture I am cutting a 4" strip the width of the fabric. Because I am going to make 4" x 4" squares out of this strip.

Notice that again I am making sure that my fold on the bottom is even with the ruler line.
Notice that on the bottom and top the ruler is running on the same line so I know I am cutting straight, on the 4" mark. Cut with rotary cutter up the edge of the ruler.


In the next picture you will see I cut it and have pulled it away from the rest of the fabric. 


In this picture I again make sure my fabric bottom fold is following a straight line. I also have moved the ruler over so it is on the 4" line. making sure the line above and below the fabric is the same line for my ruler to be lined up with, so I know I am cutting my fabric straight.  I cut another strip of 4" wide by WOF. [Width of Fabric]


And this picture is what the original fabric looks like when you have cut 4" strips out of it.


Now we are going to make 4" x 4" blocks out of these 4" fabric strips. 

In the below picture I have  laid 4 strips of fabric right sides up on top of each other. I have made sure they all line up on the bottom edge and on the right end. 

I am now taking my 24" x 6" ruler [can use smaller if you want] and I am choosing a line to lay even with the bottom of the stack of strips, to make sure I am cutting straight of grain. And I am leaving about a 1/2" of fabric sticking out to the right. I am doing that to make sure that the right side of the fabric is cut straight and even, because that will be the right side of my block and I want it squared evenly.   Cut with rotary cutter. 


In the next picture you see I have cut it off and now that side of what will be my 4" x 4" block is straight.


In this picture you see that I have moved the ruler over.  The right side of the fabric I have laid it on the 0 line of my mat, making sure that it is laying straight with that line. I have used the mat marks to find the 4" line and I have laid my ruler where it is even with that 4" line. I have also made sure the line on my ruler that is at the bottom edge of my fabric is even with the fabric, And the ruler above and below the strip is following the same 4" line.   This is how I know I am cutting straight and with grain.


Discussion: 
Do you cut on the center of the line, do you cut on the right side of the line, do you cut on the left side of the line... How do you know where exactly the 4" line is????  If they say it makes a difference with a "Slight" 1/4" seam because it adds up.. wouldn't it add up and cause your blocks to be off if that little bit of space the width of the line is left?   The answer is YES it makes a difference... So where do we cut?   In the example above From the left side of the O line to the LEFT side of the 4" line is 4 inches. SO the 4" line is included in the width you need to make it 4". If you cut it on the right side of the 4" line then it will be a hair narrower then a true 4 inches.

OR in short version: Left side of line on right and Left side of line on left.. OR right side of line on right and right side of line on left..... BUT Which ever way you decide to cut it, right of line or left of line, make sure to have edge of fabric and the side of the line your cutting on, on the same side... Ok? End of discussion.


 Ok we have cut one 4" x 4" block, and now we have moved our ruler over 4" so we can cut another block. Again lining everything up before cutting.


Now we take the 4" x 4" blocks and square them up.  I am using my 6 1/2" x 6 1/2" square up ruler. I have lined the ruler up on the bottom and on the left side of the block. Now I look for the following: 

1. Are the Top and Right side  of the block even with the 4" line across the top and down the right side of the ruler? 
2. Is the diagonal line from corner to corner aligned with the corners of the square at 4" [the bold lines on ruler are marked for inches]. 
2. Is the Bottom and Left side even with the ruler edge?

IF you find the fabric block is sticking out pasted the left edge of the ruler, or the bottom of the ruler, then using your rotary cutter and trim that extra off. 

Lift and turn your block so you can now check the other two sides. Trim them if you need.

If all these are lined to the ruler edges and the top and right side ruler line, then it is square. 


Now we have the blocks made, we move onto the cornerstones.  The cornerstones will be a spacer between sashing strips. I decided that 2 inch wide sashing would be the thing.. half the width of the block. So I would need to cut the sashing strips 2 1/2" wide by 4" long. Which makes the cornerstones 2 1/2" by 2 1/2" square.

In the next picture you will see that I have a 2 1/2" strip that I cut just as I did the strip for the blocks. And from that 2 1/2" x WOF [Width of Fabric] strip I will cut 2 1/2" squares.

Again making sure the long side of the strip is even on the ruler, and cutting at 2 1/2" for the corner stones.

You will also do the squaring up just as you did the blocks earlier.


I decided the sashing strips would be out of yellow fabric and I cut the strips as I did the others using a width of 2 1/2" by WOF.

Then Using my ruler I cut from the strip 4 " by 2 1/2" sashing strips.


Then I decided to see about making a nine patch cornerstone. That was a bit harder. I figured out to make the three blocks across and three blocks down to use strips to accomplish this. So the final size will be 2 1/2" by 2 1/2" inches, 1/4" on each side being the seam allowance. So I needed to cut strips 1 1/8" wide. So I cut Navy and Yellow strips 1 1/8" wide by 2 1/2:" long.

Then I sewed a Navy and a Yellow together with 1/4" seam allowance, then I sewed a Navy strip  on the other side of the Yellow strip with a 1/4" seam allowance.

Then I sewed a Yellow strip to a Navy strip then on other side I sewed another Yellow strip.

Then I cut them in 1 1/8" strips, then lining them up as you see in the below picture I then sewed them together with a 1/4" seam allowance.


Now we need to start assembling. 

I took a yellow 2 1/2" by 4" sashing strip and sewed it to each side of the 4" x 4" block. 
Then I sewed another 4" x 4" block and another 2 1/2" x 4" sashing strip. This created my first row


Then I pieced my side to side sashing strip.  I sewed a 2 1/2" x 4" yellow sashing to a 2 1/2" x 2 1/2" cornerstone. Then I sewed the 9 patch 2 1/2" x 2 1/2" cornerstone to the other side. Then another Yellow sashing strip, followed by another Navy cornerstone. Creating the first side to side sashing row.


Now matching seams I sew the sashing strip row to the first block row.


Once sewed it looked like this.


Then I decided to let you see what it would look like if you didn't use cornerstones.

So I took one of the Yellow 2 1/2" by WOF strips and sewed it to the 1st Block row. Trimming to length.


Then I followed that with the 2nd block row of sashing and blocks.


And this is what it became.


So in review, you will make your blocks, you will make your sashing strips. 
You will cut your sashing strips the same height as your block.  
You will then make your self a sashing and corner block row and attach it to your Block Row. 
OR
You will make your block row and attach a solid strip of sashing the length of your row. 

You can also do this in the opposite order you can put your sashing strips at the top and bottom of your blocks and do you long sashing or sashing and cornerstones going up and down... what ever you wish to do.. 

Hope this helped!! 
Happy Sewing. 
Becky Thill


Wednesday, April 8, 2015

Measuring Blocks, Fixing errors with in blocks.

Measuring Blocks, Fixing errors with in blocks. 


Wasn't sure what to call this post, so hope it is not misleading. In this blog I am going to be making a 12 1/2" x 12 1/2" block. Then I am going to be showing you how to make sure it measures correctly, and how you can fix it if it isn't right. 

The block is called "Best of All" and I got the pattern of the block from the McCall's website. They have a section on their website of free blocks and how to make them. 

Here is what it looks like: 


Well I didn't make mine in those prints, I made mine out of Yellow, Medium rose pink, Burgundy, Green and a fussy print that goes in the center. 

Looking at the picture of the 12 1/2" x 12 1/2" block above, it is created by joining many smaller squares. If you count across the top there are six squares, all sides have the same number. There are actually 36 small squares within that one block.

In trying to figure out the size of the squares in that block, if you divide the 6 squares you already counted to a side into 12 1/2" [12.5"] you get 2.08333. That is NOT the correct size of those squares. You CAN NOT take the measurement of that block: 12 1/2" and divide it in six pieces and the number be correct. 

Why? Because you have two raw edges on the outside that have not been sewn to something else, so those two outer squares still have their seam allowance not used. Which means they are bigger than the center four squares which have had their seam allowances used. 

First the UN-finished block is 12 1/2" x 12 1/2" and it has a 1/4" seam allowance all along the edges that you will sew to another block or some border or some sashing or some binding... Then the block will lose that 1/4" seam allowance and become a finished 12" block. Then all six squares will be a even 2" size. But until then you can not divide that Block by six and get an even number. 

Ok so again: In that picture of that block you have 2 squares that are 2 1/4" and 4 squares that are 2" and they equal the 12 1/2" side to side or top to bottom. 

HUH?   ok let me show you another way so maybe it makes more sense.

In the picture below, you will see two examples of how the squares measure. We are looking at the bottom row of the block. There are six squares. 

Top part of the image below: The first and last square measure 2 1/4" from raw edge to sewn right edge, or from raw edge to sewn left edge. The four squares in the middle which are sewn on each side measure 2" from side to side.  If you add the numbers up it equals 12 1/2". Once this block is sewn to another block you will lose 1/4" for that seam allowance once this block is sewn to something else on all four sides it will be a "Finished" 12" square. 

In the picture below in the bottom part, you see the "Actual" width of each square BEFORE it was sewn to the squares next to it.  
Let me show you how these came together, or I will at least show you how to make the four blocks on the corners of this square and show you how to match the seams and then measuring and squaring your block. 

The four corner's of the block, are completed by using 4 squares sewn together into a small block. 
A cream 2 1/2 x 2 1/2" square sewn to a rose pink HST, sew eight of these.  [HST = Half Square Triangle, see another blog I have posted to learn how to make one]. 


Then lay them out as in picture above, then sew the two rows together. Making sure you match your seams. 


There are two ways to match your seams.. the old fashion way of putting a pin through the sewn seam on top piece, then through the seam in back piece your sewing together.


So it is pinned like this.

 OR if you have pressed your seams to the side, you can butt them up to each other, make sure they are snugly butted together then pin.


sew together

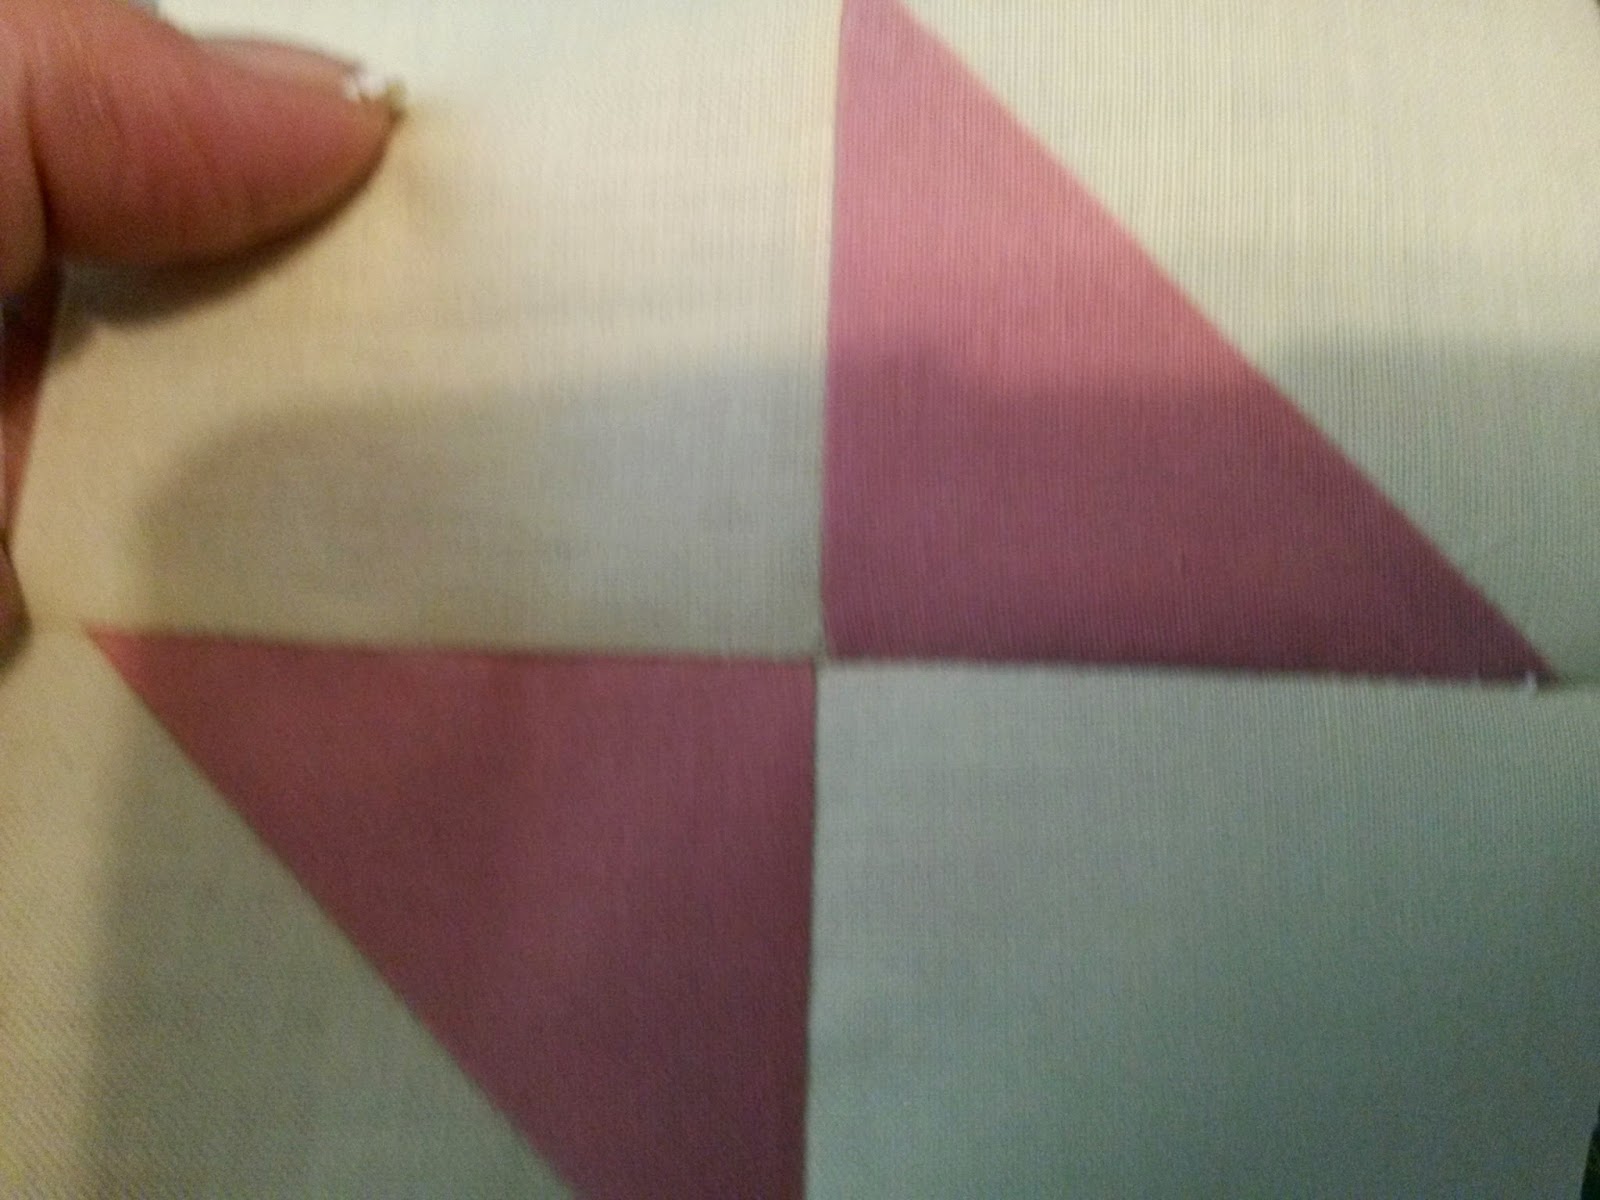
And they should make a perfect aligned seam.  [a little fuzzy but hard to hold camera and squares]


Ok now we need to press, then measure and square up this 4 piece.

Look at the square up ruler on top of the fabric square in the next picture.

Notice that the 2 1/4" mark [going from right to left] is right on the seam line. That is as it should be. One seam is sewn on that square so 2 1/2" minus the 1/4" seam allowance of that one seam makes that block 2 1/4" now once sewn.

Continuing on to the left you will see the left square on top is also 2 1/4". Well it is a thread bigger but for the moment we won't do anything.

If you do the same for all squares from side to side, and from top to bottom you will see that the block is 4 squares that measure 2 1/4" x 2 1/4" each.


 In this picture I trimmed the edges of the block so it is perfect.


Now here is one of the 4 blocks, and when measuring you can see that the 4 squares are NOT 2 1/4" x 2 1/4".

The seam shared by the top right and bottom right squares are not correct.  What is wrong? The seam at the bottom of the top right square is  is above the 2 1/4" line. The seam at the top of the bottom right square is up in the top squares area.. and the bottom of the bottom right square is short fabric because of it...

To fix them where the top will have 2 1/4"  from top to bottom, and the bottom square will be 2 1/4" top to bottom, we will need to open the seam between them.


Discussion
There are two ways to fix this, neither is wrong. They are choices, each person needs to decide the value of their choice and do which ever method works for you. 

Fix One: would be to remove the right side of the block [two squares on top and bottom of the right side] take the seam apart between them. Measure to be sure they are exactly 2 1/2" each direction and resew them together with a perfect 1/4" seam allowance. Then resew them to the left side of the block with a perfect 1/4" seam allowance. 

Fix Two: Would be to take the easiest way to fix the problem, with the least amount of ripping out of seams. Making sure there is enough seam allowance that the seam will not come apart, but accepting that part of the seam allowance may not be a perfect 1/4" seam allowance, if some one measured.

If you are wanting to make sure every single square and block is perfect and every seam allowance is perfect, for say a competition then Fix One is the way to go. If you can live with a little bit of "Not quite perfect", but still a good strong quilt, then Fix Two is the way to go. In Fix Two no one is going to see this "Not quite perfect" fix except you  and who ever quilts it.. but most quilters don't hunt for these "Not quite perfect" seam allowances unless it looks like it is not stable. So in the long run only you will know once it is quilted. It's all according to what you can live with.

Personal note: if I am making a quilt for a customer, I would do Fix One, as they are paying for as perfect as can be in my work. If I am making it for myself I would do Fix Two as I know it is strong and good and only I will know.

Ok Discussion ended....

Fix Two:
The bottom HST square needed to have LESS in the seam allowance so that, that little bit of fabric would now be in the body of the square and allow that square to be 2 1/4" long.

As you can see by the following picture of the back side of the square, the pink of the HST is sewn less than the 1/4" seam allowance, whereas the other square used the 1/4" seam allowance in the seam.


As you can see in the next picture the top right and bottom right squares are now 2 1/4" x 2 1/4"


I am not going to show you step by step how to make the rest of the 12 1/2" block, we are going to move on to how to check, measure and square up the whole block. 

In the following picture you will see the block I made.  Now we need to check it by measuring it to make sure it is 12 1/2" x 12 1/2". But we also need to make sure all the squares in the block are also correctly sized. 

Discussion: 

When I first started I would grab my 12 1/2" x 12 1/2" square up ruler, pop it on top of my square and if it was exactly 12 1/2" x 12 1/2" call it good. Or if it was a bit bigger trim it to size and call it good... 

BUT this is what causes you problems as you start putting these blocks together to make a quilt.  I just couldn't figure out why it was so hard to make seams match up when joining blocks. 

Then the lightbulb came on! Someone said something in one of the FB quilt groups when addressing someone's problem with the block.. they said did you measure each square in the block to see if they are right, are you sure your seam allowances are right... etc.  That is when I realized I was going about this all wrong. It isn't the outer edge that is the "end all" measurement it is that each component is correctly sized and blocked so that it will meet the seams of the next block you add to it. 

WOW! did that change the whole game!!   I will be showing you how I go about making my blocks "Right".     - End of discussion

Ok here is my block made from the pattern I mentioned above.  Being this is for the blog not an actual quilt I am doing I want to say here...I sure don't like how the medium rose fabric came out in this mix I should have used a lighter burgundy. But that is hindsight. This is just for teaching. 


In the next picture you will see that the block is no longer on my cutting board, it is now laying on some burgundy fabric. 

Actually I have a TV tray top, covered in Ironing fabric, batting and fabric, that I use at my cutting area next to my sewing machine so I can press blocks. I have a smaller press block that I use for just seams. 

I have taken that Iron board and have put a dark piece of Burgundy over it so you can see the block better and so I can stick pins in it to hold the block square, while I am measuring. 


In the Next picture I have cropped it so you only see the right hand side of the block, that is where we are going to start. 

Notice I have my pins handy next to the area, and also that I have my 12 1/2" x 12 1/2" square up ruler laying on top of the block. [Note you do not have to use the same square up ruler. I have found my three square up rulers are all I need no matter what I am doing. 24 x 24, 12 1/2 x 12 1/2, and 6 1/2 x 6 1/2. ]

I start on the right edge, I look at the first seam to the left. and compare my seam to the 2 1/4" mark on the ruler. Remember we discussed before that the outer edge squares in the block will still have the 1/4" seam allowance on them, so you are looking for all the blocks from top to bottom to be 2 1/4" from side to side. 

On this first row of the block, I am looking at the seam line comparing it to the 2 1/4" line on the ruler, I also look to see if the right edge is even or wider than the edge of the ruler. 

Sometimes you have to pull the edge a little to get the seam line and the edge line to be even. When needed I will put a pin to hold it where it belongs. You can see that pin at the seam line at the top of the second square from the bottom, and again two squares up. 

Once I have those pinned and the seam line even with the ruler. I know that I can move left to the next column of squares.  

[Note: You can see the middle two squares are a thread or two wider than the ruler. on this outer edge I will leave that alone for the moment because after we get the whole block checked I will trim the block edges. ]


 In the next picture you notice that I moved the Square up ruler over to the next column of squares to check. Please note that I put a pin at the top seam allowance between the right column and this one, so that the block doesn't shift. Remember we straightened it in the first column and don't want it to move back.

Ok if you look closely some blocks in the column are a couple threads wider or narrower..
Ok not horribly bad, but not perfect.


Lets go ahead and look at the next column of squares and lets see how it does.. if all the other columns are perfect, I would have to think hard about ripping that line... lets see how it goes.

Ok in the next picture, I actually looked at two columns together, instead of the single column. I did that because if you noticed, the center square of the block is one big piece of fabric that is fussy cut, not four squares as the rest of the block is.  So I consider the two columns as one block in this case.

Notice at the very top two blocks, and the two below it. The right seam is perfect, but the left seam is really angled to the right and not straight.

well lets think about that, it is actually two blocks side by side. The right square of the top row, and the left square of the second row they are perfect 2" [seam allowances are used], but the left top and left second row block are what are angled to the right.

The center fussy cut block that covers 4 squares is ok except for the bottom tip on right. but the left side is not correct.

The bottom four squares are not bad but the left side is just a thread or two off.


Ok we know we are going to have to fix the left side of the top two squares and the fussy cut block. But lets move on for now. 

Now we are looking at the left two columns in the below picture. Remember the second from the left column should be 2" as both seams are used, and the first column on the left should be 2 1/4" as only one seam allowance is used. 

If you look the length of the second column the bottom squares are lined up perfectly, until you get to the top two squares, they are angling to the left. Which is the same problem we saw when we looked at the center column, it pulled the same way. That really does need fixed. 

Moving on to the left hand column. The bottom squares are pretty good, but again if you look at the top left edge, it should stop at the 2 1/4" mark IF the right side is straight on the ruler line. In this picture the right side of the top square is pulling a bit left, and the left edge is almost a 1/4" too wide. IF the right side was straight, then the left would only be a trim of the edge to fix it as it is too wide. But we have to fix the right edge before we remove anything fabric as we may need it. 

Same issue with the second square down on left edge. 


Ok we have now done a right to left survey of the Block. We know there is a major problem with the top two rows, starting the third block from the left. [remember the 4th block from the left was ok]

In the next picture you will see I flipped the ruler the other way. I have lined up the 4" mark on the right side of the two center squares. 

Immediately I see we have a bigger problem than I thought. If you look at the far right side of the two squares in the top row, the line is even at the 4" mark on the ruler. That's good, but look at the 2" line on the ruler and the tip of that flying geese peak. That peak is a full 1/4" further left than it should be. 

If you look at the next row down, right edge is good, but again the center peak is 1/4" to the left of the 2" mark.  

Lets check the left square of those two rows.


Ok in the next picture, we have the ruler lined up to the left edge of those two blocks. Notice that the 2" mark from the left, in both blocks they are almost perfect. And the fussy cut square below that looks like it isn't the problem either. It is the right hand side that is out of whack. 


Now we know exactly where one of the problems is, That is the importance of measuring each section and knowing exactly where your problem is. We will see when we fix it if that now will cause a chain effect and fix the other blocks to the left. But this is where I would start to fix the squares. 

I used the ruler and remeasured the column to the right of the center blocks. As you can see in the picture the actual problem starts in that column, notice that top square should be 2" as both seam allowances were used, but the square is actually wider than that. In fact there was a gradual tapered gap starting down at the 2nd square from the bottom. 


To Fix this problem I marked my block with disappearing fabric ink. Marking with the ruler the amount that is too wide in that square.  I then ripped the stitches of that column down to the top of the bottom square. 

Then taking pins I pinned the original seam line of the center squares, to the marked line of the right column to it. Then resewed that seam.  


Once I did that and pressed the block again. Then using the ruler I again checked the measurements. Now the column to the right of center was correct, but the center column was still too wide.

In looking at the two blocks that make the center column, I did not want to mess up the points in the center so I knew I had to fix the left side of that left square, and this adjustment went from the bottom of the Fussy cut center square up through the top two squares. So once again I marked with my ruler and disappearing ink fabric pen, then resewed as I did before. 

Again repressed and measured. As you can see in the picture below, that finally fixed those center blocks. And once those fixes were made it straightened out the rest of the columns to the left. Whew! 


Once you go back and make the adjustments your block becomes square and you can do any trimming on the outer edges as the last step. 


So you can see that just plopping the squaring ruler on top of the block and checking the outer edges to see if they match the 12 1/2" x 12 1/2" doesn't mean the block is "square". The outer edge may be but the individual squares inside the block aren't necessarily.   

For your quilt blocks to lay together correctly your squares within the block have to be equal, so when sewn to the next block the seams will match up.  

 I know this was long, but felt it would help someone who didn't know that measuring the actual squares within a sewn block can change the whole quilt. 

Happy Sewing. 
Becky


Sunday, April 5, 2015

Mitered Corner Borders

Mitered Corner Borders


Borders added to a quilt gives a frame to the center blocking. There are different types of Borders. Mitered Corner Borders which I will show you how to make below. Then there is straight line borders where the border fabric directly butts up against the next side border.  Myself personally I like the Mitered Corner, it looks more finished than the more simpler straight line border.  But it is all choices in quilting and we need to do what we like and what we each feel the quilt needs. 

The Mitered Corner Borders that I do is almost the same as the Mitered corner binding that I did in an earlier post. The same techniques will be used for the most part, and that may be why I like it. 

So lets begin. 

The Border fabric needs to be made so it can be attached to the sides of the quilt. I make my borders with diagonal seams, attaching the strips of fabric into a long continuous border.  

In this tutorial I will be using 4" wide WOF [Width of Fabric] strips. 

The quilt is 78" x 91", so I add 78" x 2 [156], and 91" x 2 [182] plus corners [40"] to get the length I will need [378]. ["Plus Corners" How do we figure that out? 4" wide border plus a inch = 5" then times the two sides = 10" per corner. 10" x 4 = 40" for the fabric needed for the corners.] 

378" ÷ 40" = 9.45 strips of 4" fabric,  or 10 Strips is needed WOF. [Length needed is 378" divided by Usable Width of Fabric, 40" equals 9.45 strips but we round up to be safe to 10 strips WOF at 4" wide.]  

Cut Ten 4" strips of fabric for  Border strips. 

Trim Selvage edge. 

Diagonally sew strips together to make a continuous border strip. 

Trim seams and Press seams open to minimize bulk.

Align the Border strip even with the raw edge of the quilt top, starting about center of that side of quilt top. 

Do not sew the first 6"-10" of the border strip to the quilt top, leave it loose so once you have attached all sides, you will have room to attached the two border strip ends together.

Start attaching at the right side of the quilt top. Sew the borders to the quilt top with a 1/4" seam allowance.

Sew down the side and off the end of that side of the quilt top. Remove from under the presser foot, trim threads. 

Using something [I use a piece of cardboard], line up the cardboard even on the left side of the width of border fabric [4" wide border fabric], make a line on the cardboard to use as a measurement in the following instructions. 


In the next step we are going to make a "loop" at the end of the just sewn border fabric. The end of the "loop" will mark where we will start sewing the border to the next side of the quilt top. The "loop" will be used to make the mitered corner.  

Using the just made piece of cardboard with the mark showing the 4" width of border fabric. 

Measure the border fabric from where you stopped sewing on the first side of the quilt top. Measure the border fabric up to the marked line, then an additional inch or so past the mark on the cardboard, fold the border fabric down like it shows in the following picture. 


 Place a pin or mark on the border fabric where it comes back down to the end of the cardboard.  See arrow on next picture. That pin or mark is where you will attach the border fabric to the next side of the quilt top. 


Aligning the border fabric to the next side of the quilt top, start sewing from the top edge down the side about 4 or 5 inches using 1/4" seam allowance. 

Stop sewing,  cut threads and remove from presser foot of machine. 

We are now going to make our first Mitered Corner with that loop of the border fabric. 

Your borders attached to the two sides of quilt top will have a loop made by the border fabric and it will look like the following picture. [this is the beginnings of a Mitered corner of border fabric]


Turning the Border fabric where the seams show, the backside of the quilt top. The point of the corner of the quilt top fabric needs to be folded in half, which allows the two border fabrics to align. 
[See Below picture. The brown in this picture is the center of the quilt top, the cream is the border fabric].  

Align the two border fabrics where edges are even. 
With the "Loop" of border fabric going out to your right side. 
Using a square up ruler, [I am using a 6.5 x 6.5 square up ruler with seam allowance line shown], Align the rulers diagonal line with the bottom edge of the border fabric. 
Align the seam allowance line with the 1/4" sewn seam of the quilt top. 


I cut the "extra" off using a rotary cutter against the ruler.  Some will use a pencil and mark a line, then sew. It is your choice, do what is comfortable for you. 


Sew the 1/4" seam allowance from quilt top corner down to point of border fabric. 


After sewn

Another angle after it is sewn. 


Unfold and press.  Your first Mitered corner is done!!! 


Refold fabric and continue sewing where you had already sewn down the next side. Sew to end, going off the end of fabric. Then redo the step we just did to make the next mitered corner.


When you turn to the last side of the quilt, that side is also the side that we started on. At the other end you have the tail of the first part of the border.   

You will sew down that side stopping about 6" to 8" from where that tail starts being sewn. 
If you pull the tails so they lay in opposite directions it will look like this. 


Lay right side of border over to the left, as in picture. It should end as it does in the picture, right where the left border stops being sewed. If it is longer then trim it where it ends as it does in the picture. 


Lay the left border over the right one as in picture. [I have it slightly raised so you can see the right border under the left one. ]


Lay the marked piece of cardboard were the line on the cardboard is even with where the left border's sewing is stopped. Then draw a line on the right side where the cardboard ends. This should be 4" as it should be the same width as the border is. [In my mitered binding blog, I didn't use a piece of cardboard I actually used the tail of the binding strip to measure this. but either can be used.]


Trim the Left border where you just marked. ONLY the left border do not trim the right one. 


Now lay right sides together, the left and right borders. We will be sewing a diagonal line from the top left corner of the right binding strip down to the point where the left border stops on the right side.  [the top of the right border should lay along the long side of the left border. The long side of the right border should be even with the the end side of the left border.] 

Pin to secure. 

Sew from top left corner down to the point where the right border and the end of the left border are. 


Once sewn remove from presser foot and open the borders so it lays flat. it should fit exactly to the quilt top. [see picture, the border is not sewn to quilt top yet, but you can see they will lay flat]


Flip border over and trim the excess a 1/4" away from sewn line to create seam allowance. 


Press seam open, so it will lay flat. 


Flip border over and make sure it lays evenly with quilt side. Sew 1/4" seam allowance to finish attaching border. 

All done. 

Again I do mine this way because it is so similar to the way I do my mitered corners on the binding.  You can do the same miter, but in a different way, and the way that most Youtube videos show which is to create border fabric for each side of the quilt, making sure you have lots extra at the top and bottom of each strip. Sew strips to quilt top and bottom, centering strip on center of that side. Then sew strips to quilt sides, centering strip on center of those sides.  Once you have the strips sewn on then you work on the mitered corners, very similarly to what I have done. Folding the quilt top corner in half, using ruler as I did marking then sewing and trimming.. just as I did. 
    
I find their way uses a lot more fabric because your guessing how long do you need those tails to be on each end of the strip. where as mine uses the exact width of the border plus a inch on each side. not as much waste. 

But there are no quilt police you need to do the method that works for you! 

Happy Sewing. 
Becky